Blog
How to Take Acrylic Nails Off at Home: Your Ultimate DIY Guide
How to Take Acrylic Nails Off at Home: Your Ultimate DIY Guide
Acrylic nails are like the VIPs of manicures—long-lasting, glamorous, and perfect for showing off your style. But when it’s time to say goodbye, heading to a salon isn’t always an option. Maybe you’re short on time, cash, or just love a good DIY challenge. Whatever your reason, removing acrylic nails at home can be done safely and effectively—if you know the tricks. This isn’t just another basic guide; it’s your go-to resource packed with insider tips, science-backed advice, and secrets even your nail-obsessed friends might not know. Ready to ditch those acrylics without wrecking your natural nails? Let’s dive in!
Why Remove Acrylic Nails at Home?
Picture this: your acrylics are growing out, lifting at the edges, or you’ve got a big event coming up and want a fresh start. Salons charge anywhere from $10 to $30 for removal, and that’s if you can squeeze into their schedule. Doing it yourself saves money, fits your timeline, and—let’s be real—feels pretty empowering. Plus, there’s something satisfying about mastering a skill most people leave to the pros. But here’s the catch: if you mess it up, you could end up with brittle, peeling nails that take months to recover. Don’t worry—we’ve got you covered with foolproof methods and hacks to keep your nails healthy.
Fans of DIY beauty often wonder: Can I really do this without ruining my nails? Yes, you can! This guide goes beyond the basics, spilling the tea on what works, what doesn’t, and why your nail health matters more than you think.
What You Need to Know Before You Start
Before you grab the acetone and start soaking, let’s set the stage. Acrylic nails are made from a mix of liquid monomer and powder polymer that hardens into a tough shell over your natural nails. That durability is why they last weeks—but it’s also why removal takes patience. Ripping them off (yikes!) can peel away layers of your real nail, leaving them thin and weak. So, rule number one: go slow.
The Science Behind Acrylics
A 2018 study from the Journal of Investigative Dermatology found that improper nail enhancement removal can damage the nail plate, leading to thinning and even infections if bacteria sneak in. The key? Dissolving the acrylic gently with the right tools and techniques. Think of it like melting chocolate—you don’t blast it with heat; you warm it up slowly for the best results.
Your Nail Health Matters
Here’s a fun fact: your nails grow about 3 millimeters a month, but after acrylics, they might need extra TLC to bounce back. Ever notice how your nails feel dry or flaky post-removal? That’s because acetone strips moisture, and rough filing can weaken the nail bed. We’ll show you how to avoid that drama.
Tools You’ll Need: Your At-Home Removal Kit
You don’t need a fancy salon setup—just some everyday items and a little prep. Here’s your checklist:
- Acetone (100% pure): The MVP of acrylic removal. Skip the “acetone-free” nail polish remover—it won’t cut it.
- Cotton balls or pads: For soaking and applying acetone.
- Aluminum foil: To trap the acetone and speed things up.
- Nail clippers: Heavy-duty ones work best for trimming acrylics.
- Nail file (100-180 grit): Coarse enough to buff off the top layer.
- Buffer block: For smoothing your nails after.
- Cuticle pusher or orangewood stick: To gently scrape off softened acrylic.
- Petroleum jelly or Vaseline: Protects your skin from drying out.
- Cuticle oil or moisturizer: To hydrate your nails post-removal.
- A small bowl: Optional, for soaking if you prefer that method.
- Warm water: A secret hack to boost acetone’s power (more on that later).
Pro tip: Got a nail drill lying around? It’s a game-changer for filing, but use it carefully—more on that in a bit.
Method 1: The Classic Acetone Soak (Most Popular)
This is the gold standard for a reason—it’s effective and salon-approved. Here’s how to nail it (pun intended).
Step-by-Step Guide
- Trim the Excess: Use clippers to cut your acrylics as short as possible without nicking your natural nail. Shorter nails mean less acrylic to dissolve.
- File the Top Layer: Grab your nail file and gently buff off the shiny top coat. You’re not digging into the acrylic—just roughing it up so the acetone can seep in. Stop when it looks dull.
- Protect Your Skin: Dab petroleum jelly around your cuticles and fingertips. Acetone can dry out your skin faster than a desert wind, so this step’s a lifesaver.
- Soak It Up: Soak a cotton ball in acetone, place it on your nail, and wrap your fingertip in a small piece of foil. Repeat for all 10 nails. Pro hack: Warm the acetone slightly by setting the bottle in a bowl of hot water for a few minutes first—it speeds up the process. (Safety note: Acetone’s flammable, so no microwaves!)
- Wait It Out: Chill for 20-30 minutes. Catch up on a show or scroll TikTok—just don’t peek too soon. The acrylic needs time to soften.
- Peel and Push: Remove the foil from one nail. If the acrylic’s gooey, use your cuticle pusher to gently scrape it off. If it’s still hard, rewrap and wait 10 more minutes.
- Clean Up: Once all the acrylic’s gone, wash your hands to remove acetone residue. Buff any rough spots with your buffer block.
- Hydrate: Massage cuticle oil or a thick moisturizer into your nails and skin. They’ve been through a lot!
Why It Works
Acetone breaks down the chemical bonds in the acrylic, turning it into a mushy mess you can wipe away. The foil traps heat and keeps the acetone from evaporating too fast.
✔️ Do’s and ❌ Don’ts
✔️ Do file gently to avoid over-thinning your nails.
❌ Don’t rip off stubborn acrylic—it’s not worth the damage.
✔️ Do use enough acetone to fully cover each nail.
❌ Don’t skip the moisturizer; your nails will thank you.
Method 2: The Acetone-Free Hack (Gentler but Slower)
Not a fan of acetone’s harshness? This method uses everyday items and a bit more elbow grease. It’s perfect if your skin’s sensitive or you’re out of acetone.
Step-by-Step Guide
- Clip and File: Same deal—trim your acrylics short and file off the top layer.
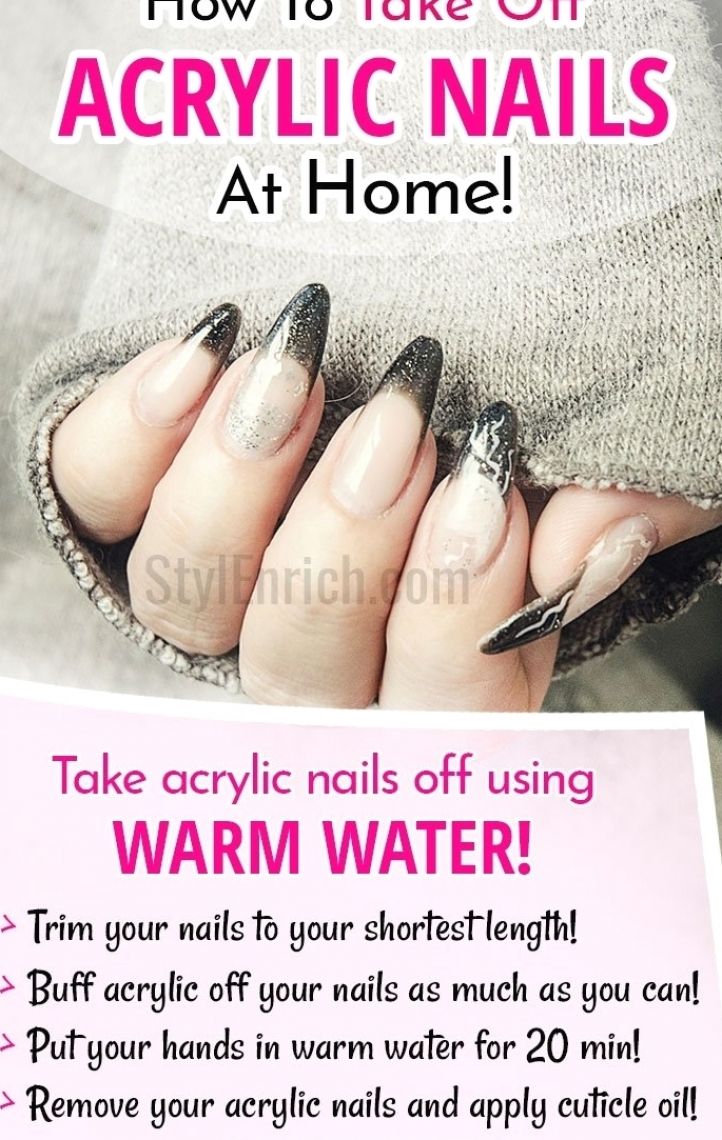
- Warm Soapy Soak: Fill a bowl with hot (not boiling) water and a squirt of dish soap. Soak your nails for 15-20 minutes to loosen the adhesive.
- Pry Gently: Use a cuticle stick to lift the edges of the acrylic. If it resists, soak longer—patience is key.
- Non-Acetone Polish Remover: Dab some acetone-free remover on a cotton pad and rub it over the acrylic. It won’t dissolve it like acetone, but it Softens the glue.
- Peel Off: Once loose, carefully peel the acrylic away. If it sticks, soak again.
- Finish Up: Buff your nails smooth and slather on moisturizer.
Why It Works
Heat and soap weaken the glue holding the acrylic to your nail, while the non-acetone remover adds extra softening power. It’s slower—sometimes 40 minutes or more—but kinder to your skin.
Insider Secret
“I’ve seen clients swear by adding a splash of vinegar to the soapy water,” says nail tech Aaliyah Smith. “It’s not scientific, but it seems to help break down the glue faster.” Worth a shot if you’re feeling experimental!
Method 3: The Nail Drill Approach (Advanced DIY)
Got a nail drill from your last beauty haul? This method’s for you. It’s fast but requires a steady hand—think of it as the power tool of nail removal.
Step-by-Step Guide
- Trim Down: Clip those acrylics short.
- Drill the Surface: Use a medium-grit bit (around 180) to file off the top layer. Go slow and keep the drill moving to avoid heat buildup.
- Target the Bulk: Switch to a coarser bit (100 grit) and carefully grind down the acrylic. Stop before you hit your natural nail—check often!
- Soak the Rest: If any acrylic remains, do a quick 10-minute acetone soak (cotton ball and foil method) to finish it off.
- Polish Up: Buff your nails and hydrate with oil.
Safety First
Nail drills can overheat or nick your nail bed if you’re not careful. Practice on a fake nail first, and never press too hard. A 2023 study in Nail Science Today found that excessive drilling can thin nails by up to 20%—so take it easy.
✔️ Do’s and ❌ Don’ts
✔️ Do use a light touch and low speed.
❌ Don’t drill into your natural nail—it’s not a construction site!
✔️ Do wear a dust mask; acrylic powder gets everywhere.
Common Mistakes to Avoid
Even the pros mess up sometimes. Here’s what not to do, based on real-life horror stories and expert advice:
- Ripping Them Off: Tempting when you’re impatient, but it can lift your nail plate, causing pain and weakness for months.
- Over-Filing: Filing too deep damages the nail bed. Stop if you see pink!
- Skipping Hydration: Acetone dries out nails like a sponge in the sun. Moisturize, or you’ll regret it.
- Using Weak Remover: Non-acetone polish remover won’t dissolve acrylic—don’t waste your time.
“People think peeling acrylics is a quick fix, but it’s like ripping off a Band-Aid with skin attached,” warns dermatologist Dr. Dana Stern. “You’re asking for trouble.”
How to Care for Your Nails After Removal
Your nails might look rough after the acrylics come off—dry, thin, or even a little sad. Don’t panic; they’ll recover with some love. Here’s your post-removal rehab plan:
Step 1: Hydrate Like Crazy
Massage cuticle oil into your nails twice a day. A 2022 study from Cosmetic Dermatology showed that oils with vitamin E (like almond or jojoba) boost nail strength by 15% in just two weeks.
Step 2: Give Them a Break
Skip polish or new acrylics for at least a week. Let your nails breathe—literally. Oxygen helps them heal faster.
Step 3: Strengthen Up
Use a nail hardener with keratin or calcium. Brands like OPI Nail Envy are fan favorites for a reason—they work.
Bonus Tip: Diet Matters
Nails love protein and biotin. Snack on eggs, nuts, or salmon to speed up growth. Studies show biotin supplements can increase nail thickness by 25% in six months.
Little-Known Hacks Fans Will Love
Want to impress your nail-obsessed crew? Try these quirky tricks:
- The Hot Towel Boost: After your acetone soak, wrap your hands in a warm, damp towel for 5 minutes. It softens leftover acrylic and hydrates your skin.
- DIY Nail Mask: Mix honey, olive oil, and a drop of lemon juice. Slather it on your nails for 10 minutes post-removal. It’s a spa vibe at home!
- Floss Trick (Use Caution): Slide dental floss under a lifted edge to gently loosen acrylic. Stop if it hurts—this isn’t for everyone.
How Long Should You Wait Before New Acrylics?
Thinking of jumping back into acrylics? Hold off for 2-4 weeks. Your nails need time to regrow their protective layers. If they’re still flaky or soft, wait longer. A nail tech once told me, “Treat your nails like a garden—give them time to bloom before planting again.”
FAQs: Your Burning Questions Answered
Can I reuse my acrylic nails after removal?
Nope, they’re toast once softened. But save the tips for crafts—some fans turn them into funky jewelry!
Why do my nails hurt after taking acrylics off?
You might’ve filed too hard or soaked too long. Ease up next time and load up on oil.
How do I know if I damaged my nails?
Look for white spots, peeling, or a rough texture. If it’s bad, see a doc—onycholysis (nail lifting) is no joke.
The Final Word: You’ve Got This!
Removing acrylic nails at home isn’t rocket science—it’s all about patience and the right moves. Whether you go for the acetone soak, the gentle soak, or the drill method, you’re now armed with everything you need to do it like a pro. Your nails might not look Insta-perfect right away, but with a little care, they’ll be back to their fabulous selves in no time.
Let’s Chat!
What’s your go-to nail removal hack? Drop it in the comments—I’m dying to hear! Or if you’ve got a crazy acrylic story (like the time I accidentally glued my fingers together), share that too. Let’s keep the convo going—your tips might just make it into the next update!
Happy DIY-ing, nail queens!


