Blog
What Is a Brad Nailer? Your Ultimate Guide to This Must-Have Tool
What Is a Brad Nailer? Your Ultimate Guide to This Must-Have Tool
Have you ever wondered how carpenters or DIY enthusiasts get those tiny, perfect finishing touches on furniture or trim without leaving a mess of giant holes? Meet the brad nailer—a small but mighty tool that’s been quietly revolutionizing woodworking projects for decades. If you’re new to this gadget or just curious about what it can do, you’re in the right place. This isn’t just another boring tool guide—we’re diving deep into what makes a brad nailer special, how it works, and why it might just become your new favorite toy. Let’s get started!
What Exactly Is a Brad Nailer?
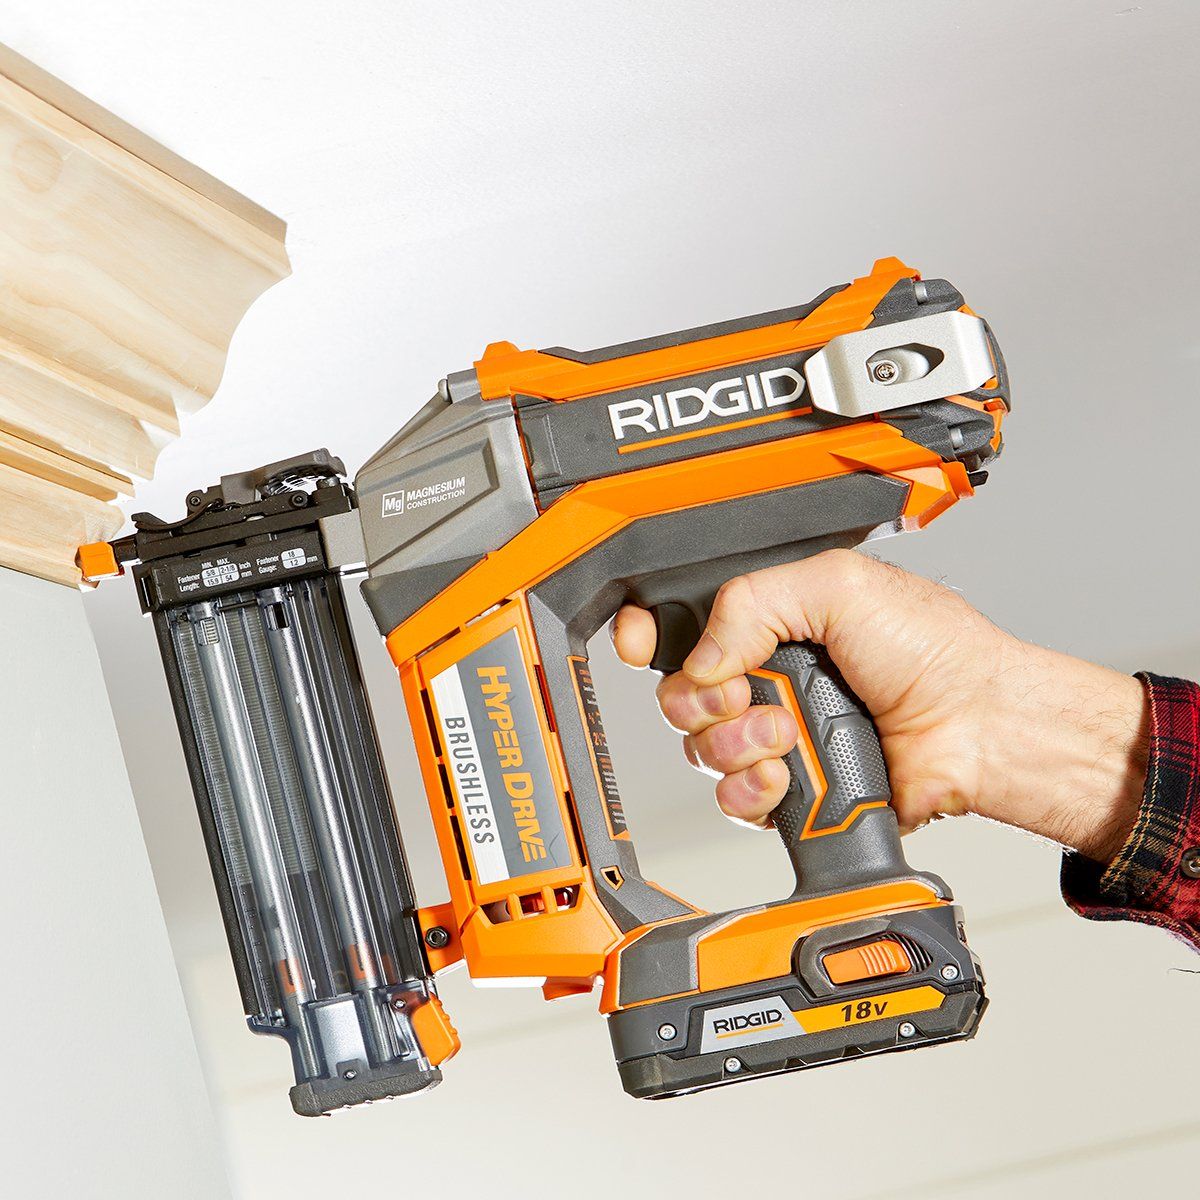
A brad nailer is a power tool designed to drive small, thin nails—called brads—into wood or other materials with precision and minimal damage. Think of it as the secret weapon for anyone who loves clean, polished projects like picture frames, crown molding, or even custom shelving. Unlike heftier nail guns that blast big nails into framing lumber, a brad nailer is all about finesse. It’s lightweight, easy to handle, and leaves behind tiny holes you can barely see.
Brads themselves are usually 18-gauge nails (that’s a fancy way of saying they’re super thin), ranging from 5/8 inch to 2 inches long. They don’t have large heads like regular nails, which is why they’re perfect for delicate work—they sink right into the material without splitting it. Imagine trying to hang a lightweight photo frame with a sledgehammer. Overkill, right? That’s where the brad nailer shines—it’s the gentle giant of the nail gun family.
How Does a Brad Nailer Work?
At its core, a brad nailer is like a mini catapult for nails. You load a strip of brads into the magazine (a slot on the tool), pull the trigger, and—whoosh!—a brad shoots out and embeds itself into your workpiece. But there’s more to it than that. Most brad nailers come in two flavors: pneumatic (air-powered) and electric (corded or battery-powered). Here’s the rundown:
- Pneumatic Brad Nailers: These use compressed air from an air compressor to fire the brads. They’re lightweight and powerful but need an extra piece of gear (the compressor), which can be noisy.
- Electric Brad Nailers: These run on electricity or a battery. No compressor, no fuss—just plug it in or charge it up, and you’re good to go. They’re quieter but sometimes a tad heavier.
When you press the nose of the nailer against your wood and pull the trigger, a piston or spring mechanism inside pushes the brad out at lightning speed. Some models even have a “bump-fire” mode, letting you tap the nose against the surface to fire nails in quick succession—perfect for fast projects like attaching trim.
Why Should You Care About a Brad Nailer?
You might be thinking, “Can’t I just use a hammer and nails?” Sure, you could—but a brad nailer saves time, effort, and your sanity. Here’s why it’s worth your attention:
- Speed: It’s way faster than hammering tiny nails by hand.
- Precision: The tool drives brads straight every time, no bent nails or smashed fingers.
- Clean Finish: Those tiny holes? You can leave them as-is or fill them with a dab of wood putty—no one will notice.
But here’s a fun tidbit most folks don’t talk about: brad nailers aren’t just for pros. They’ve become a secret obsession for hobbyists who geek out over custom projects. Picture this: a weekend warrior building a birdhouse with their kids, giggling as they “shoot” nails like a sci-fi blaster. It’s practical and fun—who knew?
Brad Nailer vs. Finish Nailer: What’s the Difference?
This is where a lot of people get tripped up. A brad nailer and a finish nailer look similar, but they’re built for different jobs. Let’s break it down:
| Feature | Brad Nailer | Finish Nailer |
|---|---|---|
| Nail Gauge | 18-gauge (thinner) | 15- or 16-gauge (thicker) |
| Nail Length | 5/8” to 2” | 1” to 2.5” |
| Best For | Light trim, small projects | Heavy trim, furniture |
| Holding Power | Decent, but not super strong | Stronger grip |
| Hole Size | Tiny, almost invisible | Slightly larger, needs putty |
Think of a brad nailer as a featherweight boxer—quick and nimble—while a finish nailer is more of a middleweight, packing a bigger punch. For delicate stuff like attaching thin molding or securing veneer, the brad nailer wins. For beefier tasks like baseboards or cabinetry, you’d grab a finish nailer instead.
The Unexpected History of the Brad Nailer
Ever wonder where this little tool came from? Nail guns, in general, popped up in the 1950s when construction crews needed faster ways to build houses after World War II. But the brad nailer? It’s a newer kid on the block, designed as woodworking got more refined in the late 20th century. Craftsmen wanted a tool that wouldn’t ruin their detailed work—enter the 18-gauge brad.
Fun fact: some DIY fans swear brad nailers got a popularity boost from home improvement TV shows in the early 2000s. Suddenly, everyone wanted to “nail” their own projects (pun intended). Today, it’s a staple in garages and workshops everywhere.
What Can You Do with a Brad Nailer?
This is where the magic happens. A brad nailer isn’t just a tool—it’s a ticket to endless creativity. Here are some ideas to spark your imagination:
- Home Decor: Build picture frames, attach decorative molding, or craft a rustic wall shelf.
- Furniture Fixes: Reattach loose trim or secure wobbly chair backs without ugly screws.
- Kid-Friendly Projects: Make a dollhouse or a toy box—safe and easy for little helpers to watch.
- Holiday Fun: Whip up wooden ornaments or a festive wreath frame in minutes.
Here’s a quirky perk: some folks use brad nailers for sneaky home hacks, like pinning fabric to walls for a temporary tapestry. It’s not “official,” but it works! The point is, this tool is versatile enough to match your wildest ideas.
Choosing the Right Brad Nailer: A Buyer’s Guide
Picking a brad nailer can feel overwhelming with all the options out there. Let’s simplify it with a step-by-step guide:
Step 1: Decide on Power Type
- Pneumatic: Best if you already own a compressor and don’t mind a little noise.
- Cordless Electric: Great for portability—perfect for small spaces or outdoor projects.
Step 2: Check Nail Length Capacity
Most brad nailers handle 5/8” to 2” brads. Make sure it matches your typical projects—longer brads for thicker wood, shorter for thin stuff.
Step 3: Look at Features
- ✔️ Depth Adjustment: Lets you control how deep the nail goes—crucial for fragile materials.
- ✔️ Jam Clearing: A must-have for quick fixes when a nail gets stuck.
- ❌ Heavy Weight: Skip models over 3 pounds unless you’re a pro—they tire out your arms fast.
Step 4: Set a Budget
You can snag a decent brad nailer for $30-$100. High-end models with bells and whistles (like LED lights or fancy grips) might hit $150+.
Expert Tip: “For beginners, I always recommend starting with a cordless electric model,” says carpenter Jane Holloway. “It’s less intimidating and gives you freedom to move around.”
How to Use a Brad Nailer Like a Pro
Ready to give it a whirl? Here’s a foolproof guide to nailing your first project (see what I did there?):
- Gear Up: Wear safety glasses—brads are small, but they can still ricochet.
- Load the Magazine: Slide your brad strip into the slot until it clicks.
- Test It: Fire a few nails into scrap wood to get the feel and adjust the depth.
- Position & Fire: Press the nose firmly against your workpiece, then pull the trigger. Hold steady!
- Check Your Work: If the brad sticks out, tweak the depth setting and try again.
Pro Trick: Angle the nailer slightly (about 10-15 degrees) when working with thin trim—it helps the brad grip better without popping through the other side.
Common Mistakes to Avoid
Even the best tools can trip you up if you’re not careful. Here’s what not to do:
- ❌ Skipping Safety Gear: No glasses? You’re asking for trouble.
- ❌ Overdriving Nails: Too much depth splits wood—test first!
- ❌ Using the Wrong Brads: Stick to 18-gauge—thicker nails belong in finish nailers.
A little prep goes a long way. Take it from woodworking guru Mike Torres: “Most mistakes come from rushing. Slow down, and your brad nailer will reward you with perfect results.”
Brad Nailer Maintenance: Keep It Running Smoothly
Your brad nailer isn’t high-maintenance, but it does need some TLC. Here’s how to keep it in tip-top shape:
- Clean It: Wipe off dust and debris after every use—compressed air works wonders.
- Oil It (Pneumatic Models): Add a few drops of pneumatic tool oil to the air inlet daily.
- Store It Right: Keep it in a dry spot—moisture rusts the internals.
Fun fact: a well-cared-for brad nailer can last decades. Some pros pass them down like family heirlooms!
Surprising Science Behind Brad Nailers
Believe it or not, there’s some cool physics at play here. A 2022 study from the Journal of Woodworking Technology found that 18-gauge brads reduce wood splitting by 40% compared to 16-gauge nails, thanks to their slimmer profile. The force of a brad nailer—about 50-100 PSI for pneumatic models—delivers just enough punch without overwhelming delicate materials. It’s like Goldilocks: not too hard, not too soft, just right.
Brad Nailer Hacks You’ll Wish You Knew Sooner
Here’s where we get creative. These off-the-wall tips come from real users—not just the manuals:
- Temporary Fixes: Use brads to tack fabric or posters to walls—they’re easy to pull out later.
- Crafting Boost: Pair it with hot glue for extra-strong small projects like jewelry boxes.
- Marking Trick: Lightly tap the nose without firing to mark spots on wood—no pencil needed.
When Not to Use a Brad Nailer
It’s not a one-size-fits-all tool. Skip the brad nailer if you’re:
- Working with thick hardwood (use a finish nailer instead).
- Building load-bearing structures (brads aren’t strong enough).
- Attaching metal—brads are for wood and soft materials only.
The Future of Brad Nailers: What’s Next?
Toolmakers are always tinkering. Battery-powered brad nailers are getting lighter—some 2024 models weigh under 2 pounds! There’s even talk of “smart” nailers with sensors to prevent overdriving. “The next big leap is precision,” says tool designer Sarah Lin. “Imagine a nailer that adjusts depth automatically based on wood type.” Cool, right?
Let’s Hear from You!
Now that you’re a brad nailer expert, what’s your next project? Drop a comment below—whether it’s a bookshelf, a birdhouse, or something totally wild. Got a question? Ask away! We’ll keep the conversation going and maybe even share your idea in a future post. Let’s nail it together!
This guide is packed with everything you need to know about brad nailers—and then some. From practical tips to quirky hacks, it’s your one-stop resource for mastering this awesome tool. Happy building!


